How to Install a Flat Roof Light: What the Process Actually Involves
What does roof light installation actually involve? We walk through the process, from structural opening to finished installation, so you know what to expect.
Having a roof light installed is less complicated than many homeowners imagine, but there are specific stages that require care and experience to get right. Understanding the process helps you manage the work, ask the right questions of your installer, and spot the warning signs of a job being done less carefully than it should be.
Stage 1: The Structural Opening
Before the roof light arrives on site, the structural opening must be formed in the roof deck. For a new-build extension, this is built into the roof structure from the outset, the roof joists or structural deck are designed with the opening in place. For a retrofit into an existing flat roof, the existing roof structure must be opened up.
In a timber flat roof (the most common UK residential type), this involves trimming existing joists to form the opening and installing trimmer joists either side and a header across the top and bottom. A structural engineer should confirm the trimmer joist specification for openings larger than a single joist bay. This structural work should be inspected by Building Control before the roof is closed up.
Stage 2: The Upstand (Kerb)
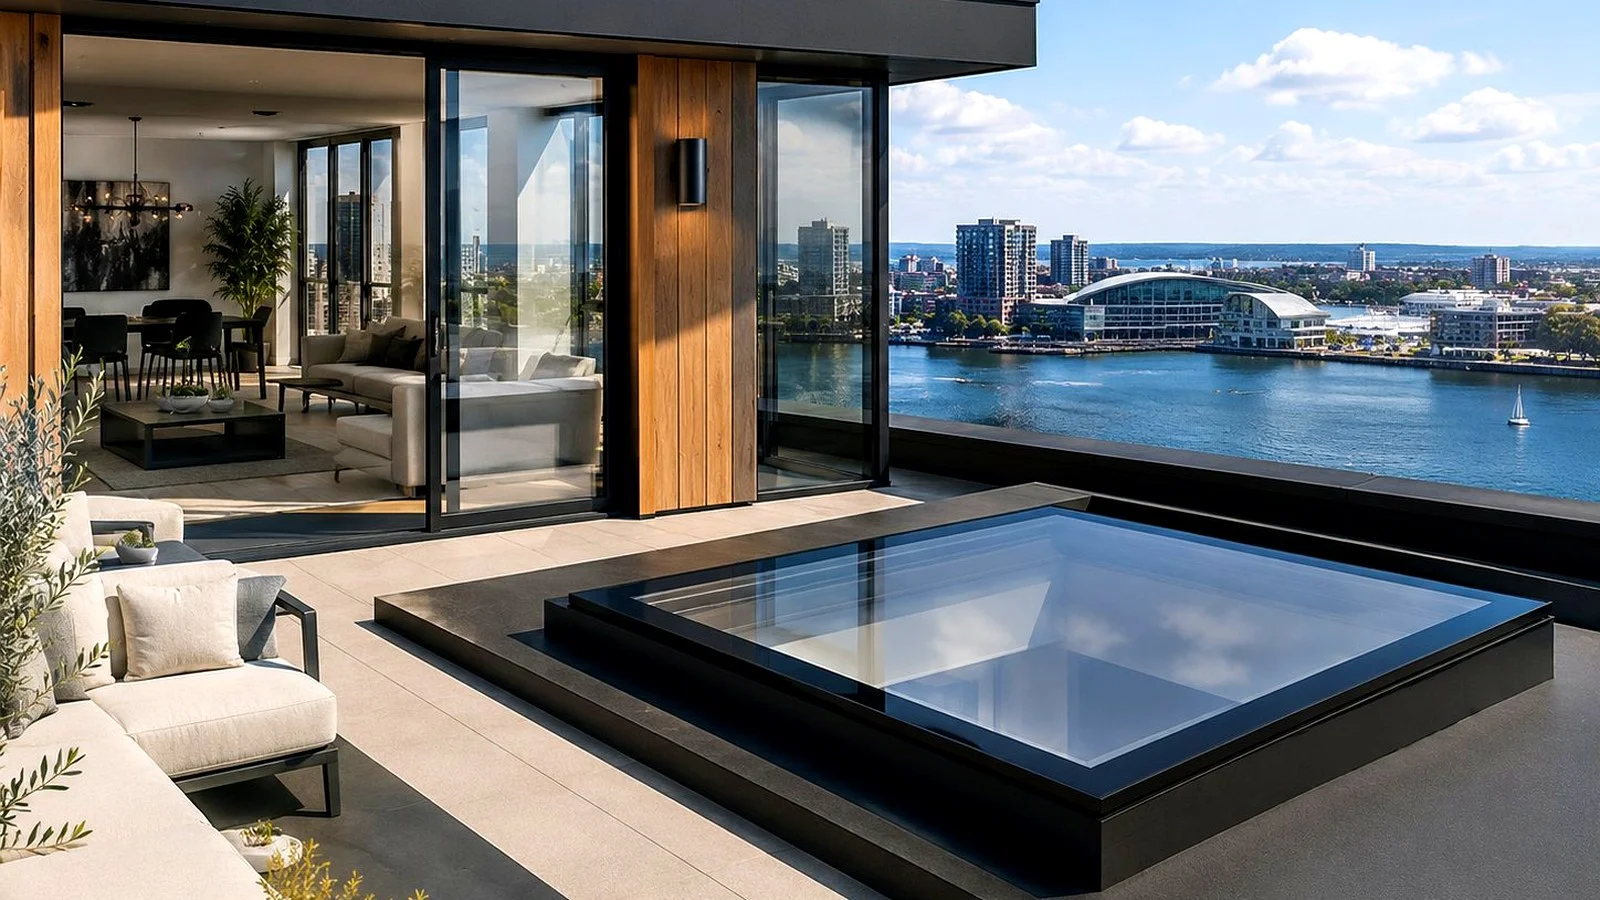
A flat roof light does not sit directly on the roof deck. It sits on an upstand, a raised frame of typically 150mm height that lifts the roof light above the roof surface and provides the substrate for waterproofing. The upstand is usually formed from treated timber and must be square, level, and structurally sound.
The height of the upstand matters: too low and water can pool against the roof light frame junction; too high and the frame protrudes excessively above the roof and becomes visually conspicuous. 150mm is the standard minimum; some systems specify 200mm.
Stage 3: Waterproofing the Upstand
The junction between the flat roof membrane and the upstand is the critical waterproofing detail. The roof membrane, GRP, EPDM, liquid applied, or felt, must be fully bonded up the face of the upstand and turned over the top edge before the roof light frame is fixed. This junction is the most common source of roof light leaks. Any compromise in the waterproofing at this stage will eventually allow water ingress.
This work should be carried out by an experienced flat roofer, not by the carpenter who formed the upstand. The waterproofing detail is specialist work.
Stage 4: Fitting the Roof Light Frame
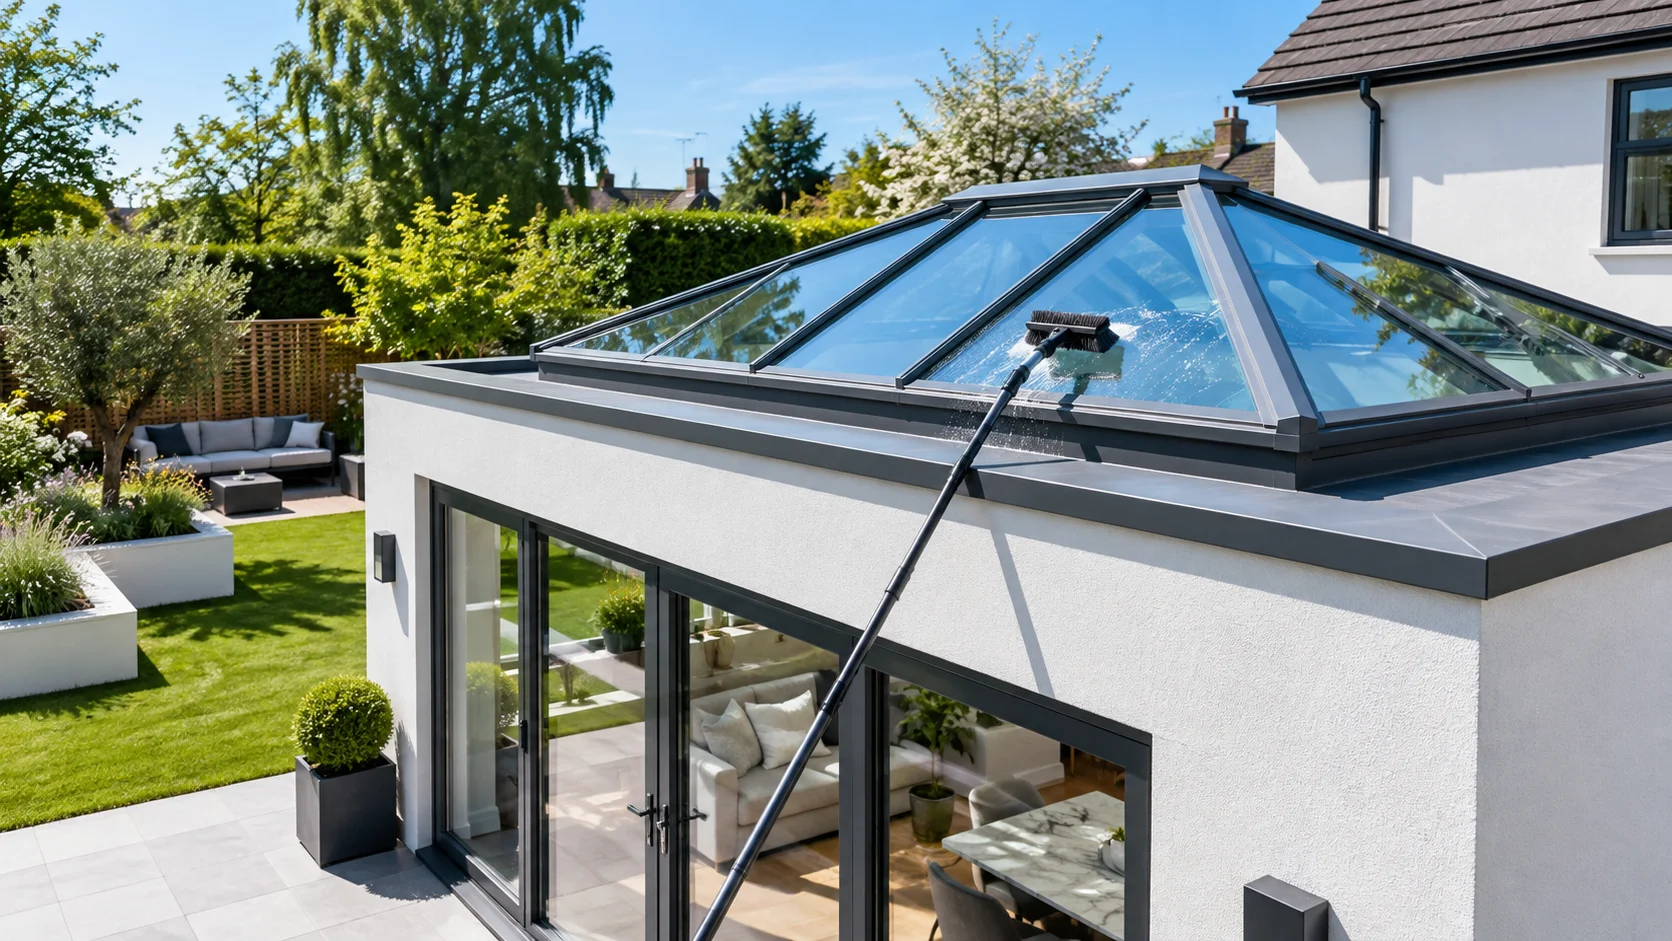
The aluminium frame of the roof light is fixed mechanically to the top of the upstand. Fixings must penetrate into the upstand timber at sufficient depth to hold the frame securely. On an Origin roof light, the frame is designed to sit cleanly on the upstand with fixing positions that don't compromise the waterproofing layer.
The frame must be checked for square and level before final fixing, a frame that's not perfectly level will cause water to collect in one corner and can affect the operation of opening versions.
Stage 5: Glazing
On most quality roof light systems, the glazed unit arrives pre-fitted in the frame, the frame and glass arrive as a complete assembly. This simplifies installation and reduces the risk of glazing errors on site. The glazed unit is the heaviest element and requires two people and appropriate lifting equipment for larger sizes.
Stage 6: Internal Finishing
Inside the room, the ceiling opening around the roof light is finished, typically with plasterboard reveals, a plastered internal frame, or a proprietary liner kit. The quality of the internal finish significantly affects the visual appearance of the installation from inside the room. Crisp, square reveals with a smooth painted finish are the mark of a quality installation.
Contact SmartaView for Advice on Roof Light Specification and Installer Recommendations
Explore more
Author at Smartaview, writing about aluminium glazing, home improvements and the buying process.