Roof Lantern Installation: The Complete Step-by-Step Process
Understand the main stages of roof-lantern installation, from structural opening and kerb preparation to glazing and final checks.
A roof lantern installation succeeds when the product, structural opening, kerb and waterproofing are planned as one system. This overview explains the typical sequence so you know what to discuss with your builder and installer.
1. DESIGN AND SURVEY
Confirm the required size, roof structure, access, drainage and glass specification. Check planning and building-control requirements before work begins. The opening must match the manufacturer’s required dimensions.
2. FORM THE STRUCTURAL OPENING
The contractor creates and supports the opening in accordance with the structural design. Temporary protection is important because the roof may be exposed during the work.
3. BUILD THE KERB
The kerb raises the lantern above the finished roof and provides the fixing surface. It must be square, level and built to the specified external dimensions. Insulation and vapour-control details should continue around it to limit cold bridging.
4. WEATHERPROOF THE ROOF
The roof covering is dressed correctly to the kerb before the lantern is fitted. Drainage falls and outlets must remain clear.
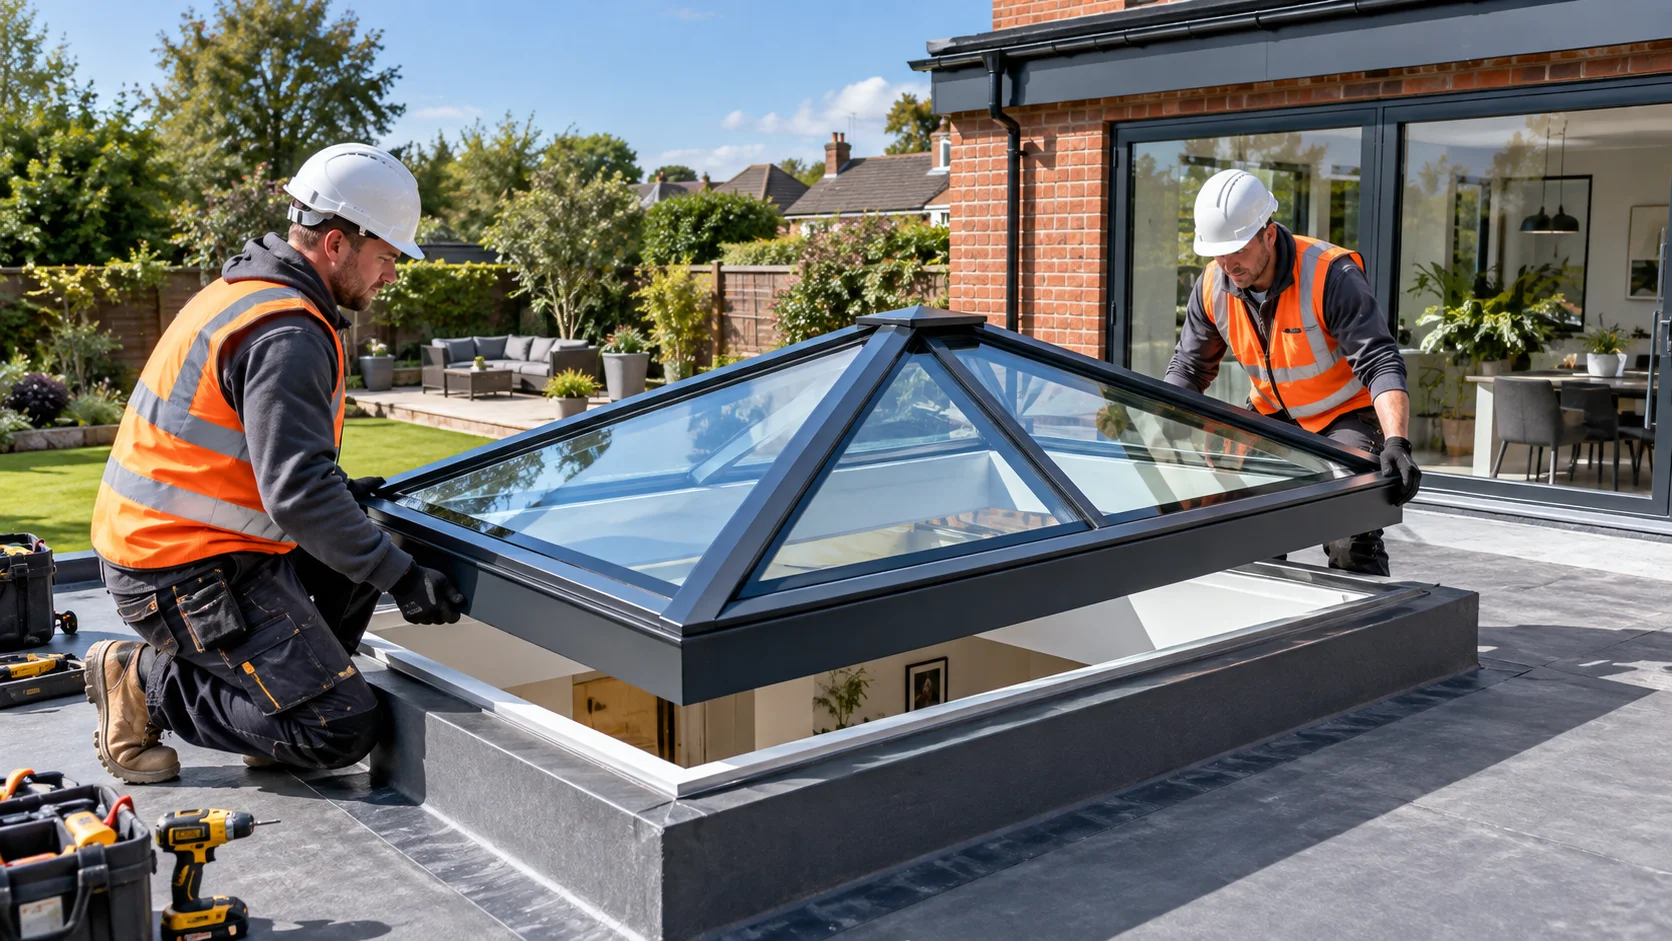
5. ASSEMBLE AND FIX THE FRAME
Installers follow the manufacturer’s sequence, checking diagonals and fixings. Larger units require suitable lifting arrangements and enough trained people.
6. FIT THE GLASS AND CAPS
Glazing units, gaskets and pressure caps are installed in the specified order. Labels and protective films are removed at the appropriate stage.
7. COMPLETE INTERNAL FINISHES
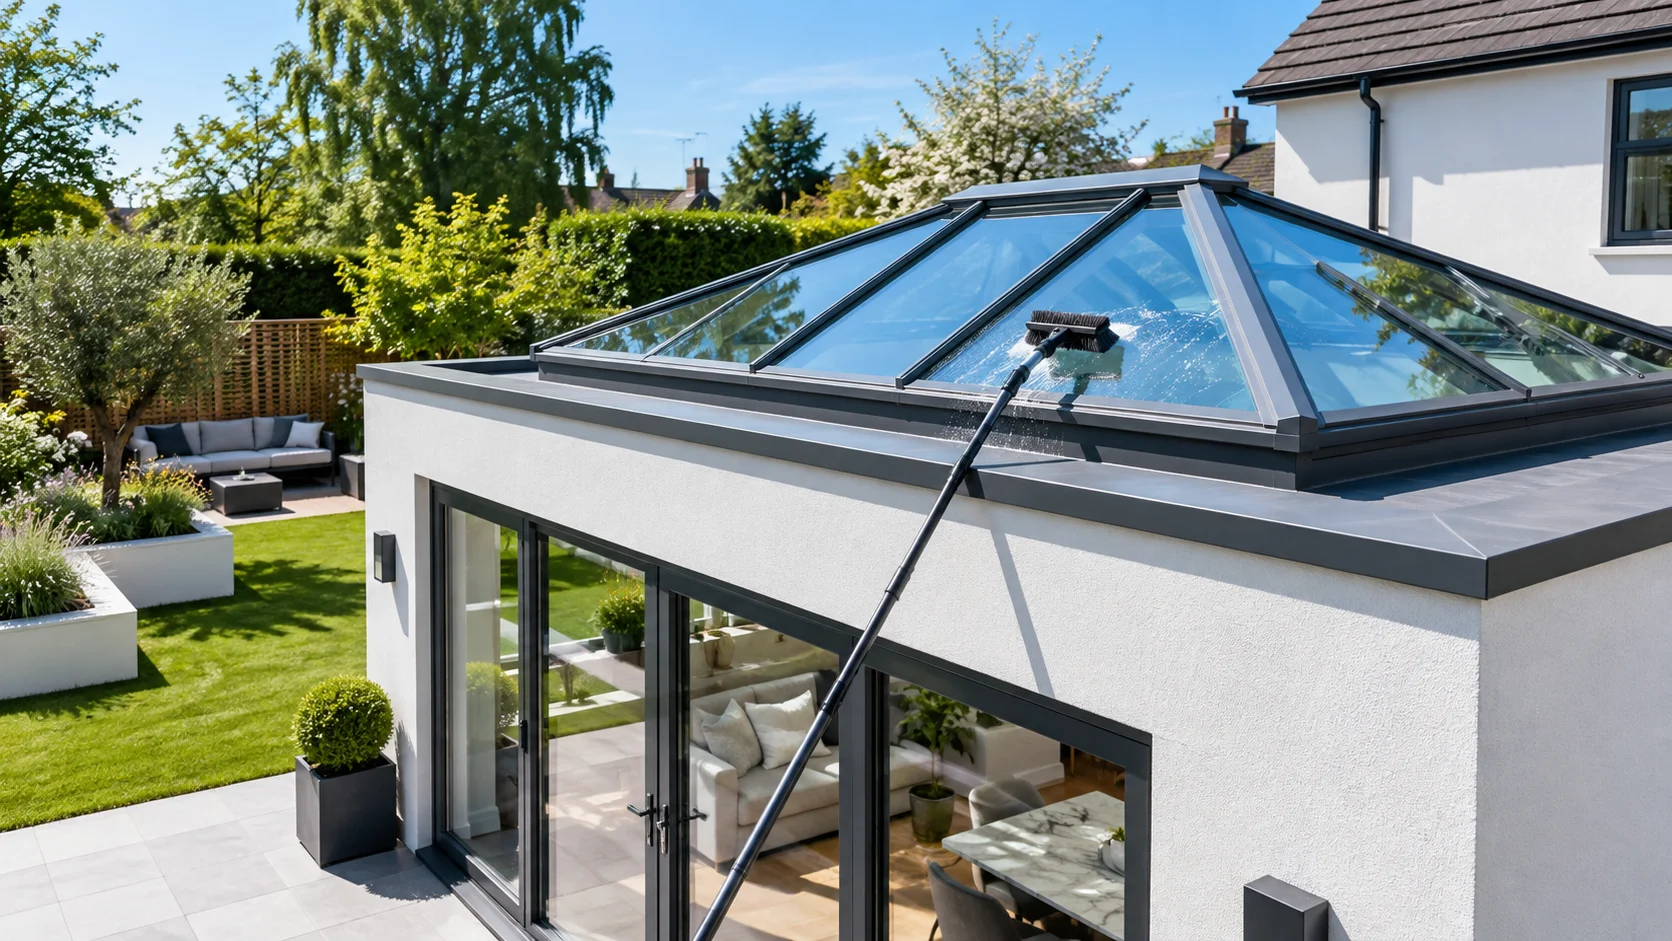
The builder insulates and finishes the internal reveal once the assembly is weather-tight. Final checks cover drainage, seals, glass condition and cleaning.
Browse Smartaview aluminium roof lanterns and obtain the correct product information for your project:
https://smartaview.com/product-types/roof-lanterns
SAFETY NOTE
Roof work and heavy glazing are not DIY tasks. Use competent professionals with the correct access and lifting equipment.
Author at Smartaview, writing about aluminium glazing, home improvements and the buying process.